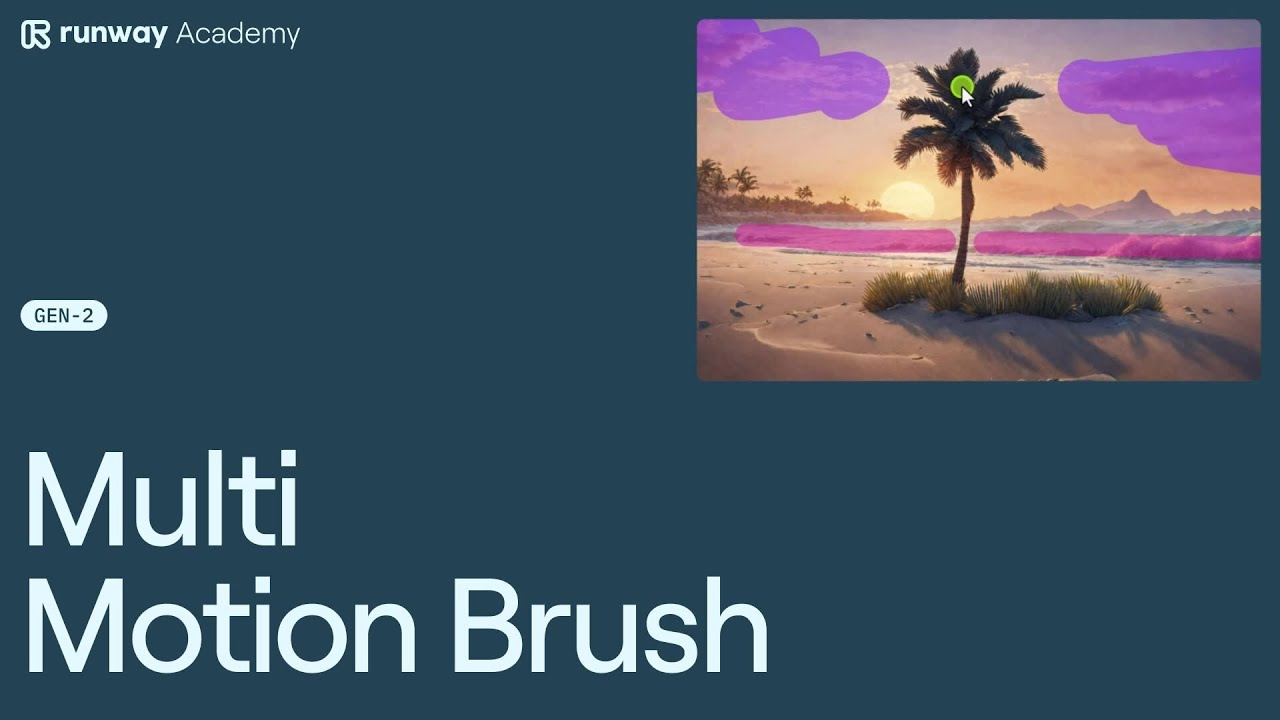
Welcome to Runway Academy! Today, we’re diving into the dynamic world of Gen 2‘s Multi-Motion Brush. This tool is a game-changer for creators looking to add life to their projects.
Step-by-Step Guide to Multi-Motion Brush
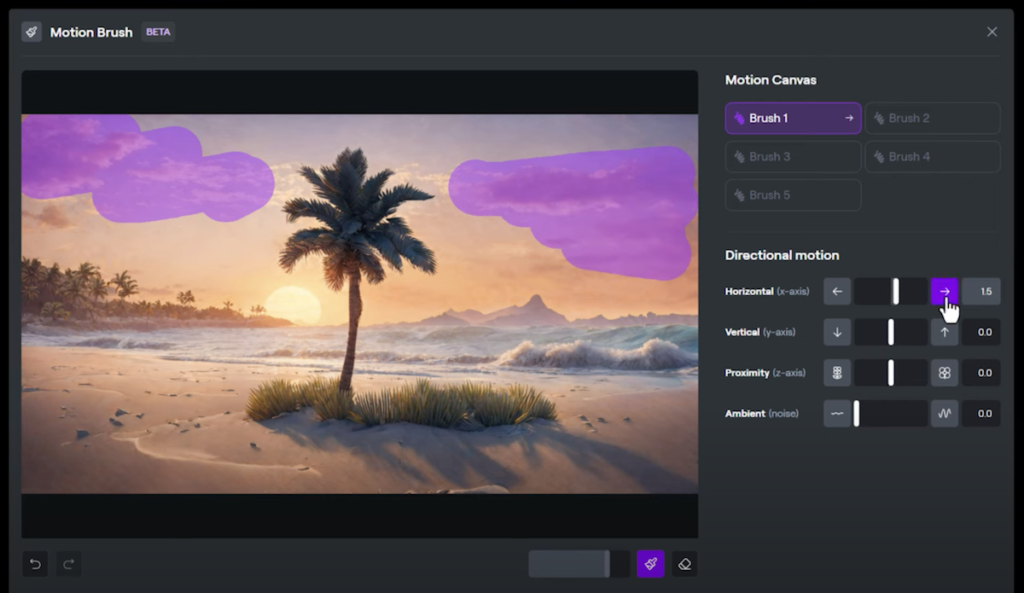
Starting Off: Begin by launching Gen 2. Here, you can input a text prompt or upload an existing image. Then, select the Motion Brush feature. You’ll find five unique brushes, each with its own control settings.
Brush Techniques: For our demonstration, I used Brush 1 to move clouds to the right.
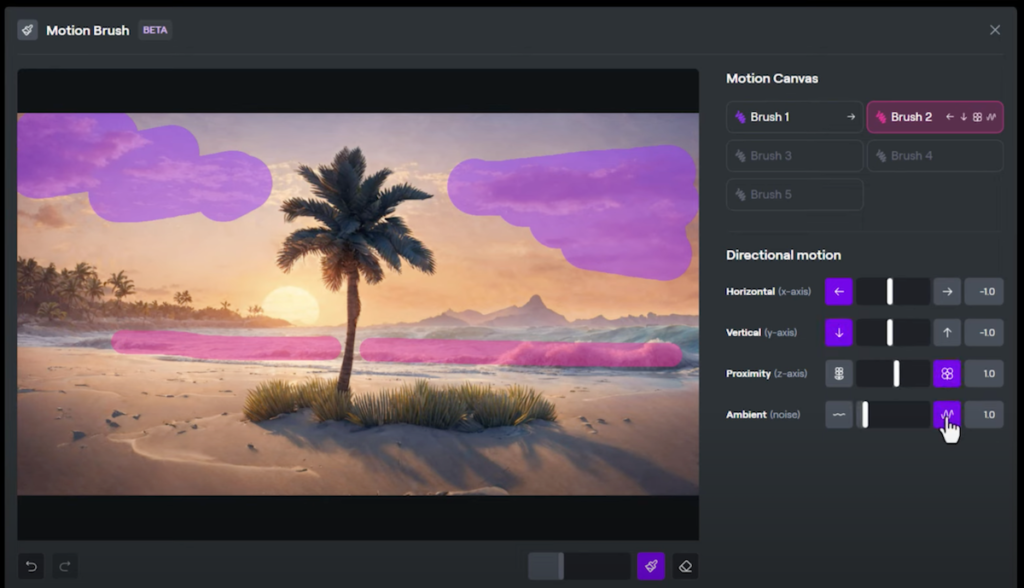
Brush 2 was perfect for creating a counter movement in the ocean, adding depth and ambient motion – ideal for water effects.
Visualizing Brush Strokes: As you apply each brush, your strokes will appear on the canvas. Icons next to each brush show the direction of movement.
Adding Subtlety: Brush 3 added gentle motion to a palm tree and grass, simulating a light breeze. I used Brush 4 to lower the sun below the horizon, and Brush 5 for minimal ambient motion in the background trees.
Customization: It’s important to note that brush strokes can’t be merged. Overlapping strokes replace the previous one. Use the Eraser tool to remove strokes in a specific area. To tweak brush values, simply click on the corresponding icon.
Finishing Up: Once satisfied with the brush settings, click ‘save’ to finalize your work.
The Impact of Multi-Motion Brush
The introduction of the Multi-Motion Brush to Gen 2 opens new avenues for creativity. It allows for intricate control and adds a layer of depth to your creations.
For more insights and tips, join Runway Discord community. It’s a treasure trove of information and a great place to experiment with Runway. Additionally, the dashboard button provides quick answers to your queries.
Video Tutorial
We’re excited to see what you create with the Multi-Motion Brush in Gen 2. Your imagination is the only limit!
Read other guides: