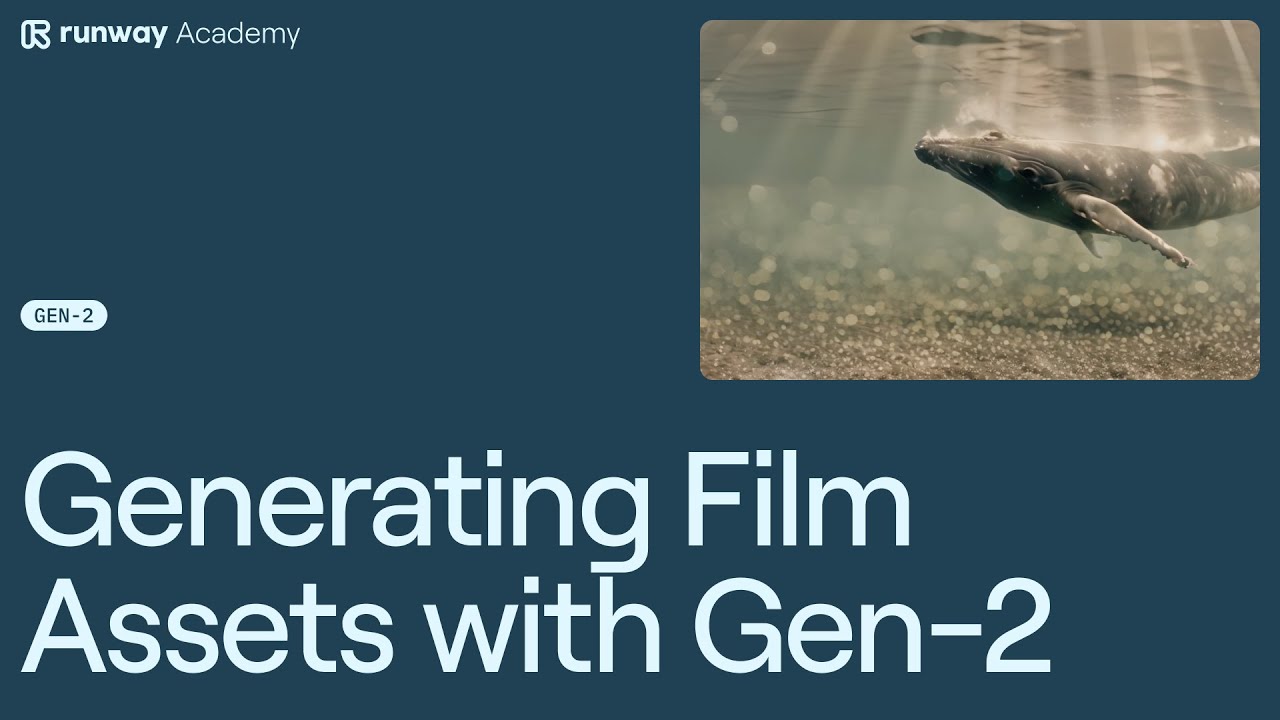
Begin by opening the RunwayLM website and select Gen-2. This tool is your gateway to crafting stunning visual scenes for your film projects.
- Scene Generation: Within Gen-2, focus on generating a scene that aligns with your vision. This could be anything from a bustling cityscape to a serene landscape. The key is to visualize the scene that best suits the narrative of your film.
- Generating Textures and Elements: Once your scene is set, it’s time to enhance it. Use Gen-2 to create additional elements like textures, which can include light flares, dust particles, or light leaks. These elements are crucial in adding depth and realism to your scene.
- Overlaying and Blending: After creating your texture or element, the next step is to integrate it into your scene. This is done using a timeline editor. Place the texture element over your scene and start experimenting with different blend modes. Blend modes like ‘Lighten’ and ‘Soft Light’ are particularly effective in merging the texture naturally with the original scene.
- Fine-Tuning the Effect: The final touch involves adjusting the opacity of your texture layer. This control is vital as it lets you dictate the intensity of the element you’ve added. A higher opacity means a more pronounced effect, while a lower opacity offers a subtler touch. Experiment with different levels until you find the perfect balance that complements your original scene.
Remember, the key to success in this process is experimentation and creativity. Each step offers room for personalization, enabling you to create unique and captivating film assets.
Video tutorial
Read other guides:

