Today, we’re diving into the powerful capabilities of creating videos using text and images. Runway’s Text-to-Video and Image-to-Video tools allow users to animate existing images or generate videos from textual prompts. This not only simplifies the video creation process but also opens up new avenues for creativity and personalization.
Starting Your Video Creation Journey
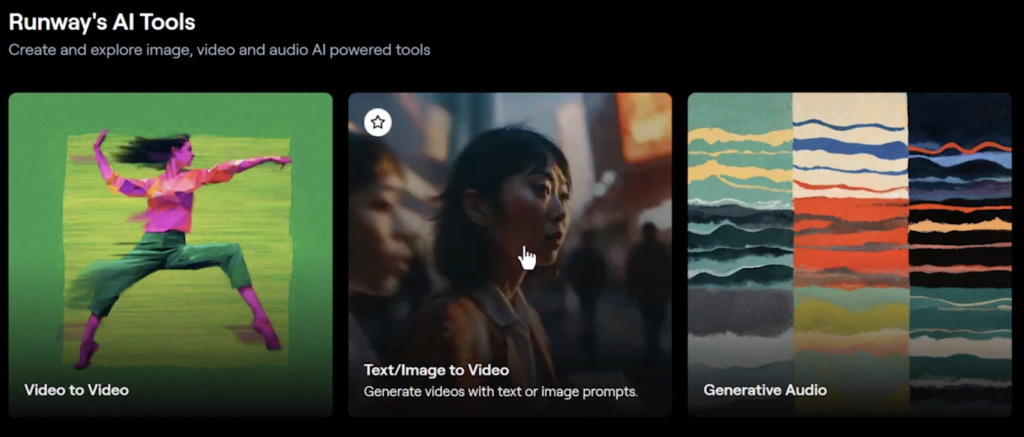
To begin, navigate to your Runway dashboard and select the Text and Image to Video tool. Let’s start by adding a prompt for a video that we want to create.
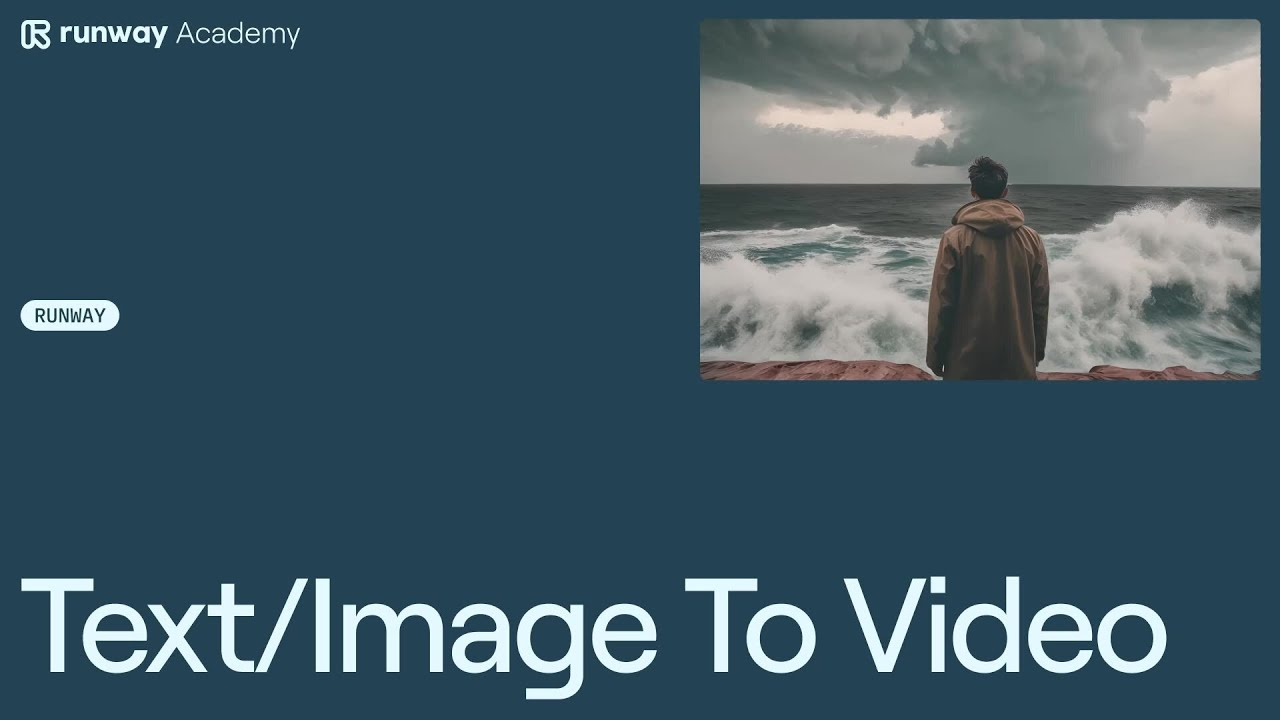
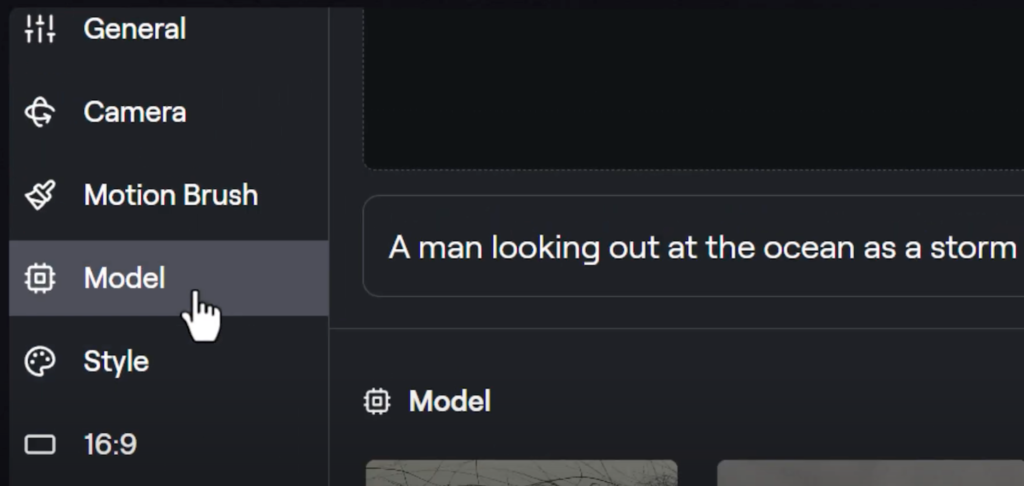
Imagine a scenario like “a man looking out at the ocean as a storm approaches.”

This initial setup is crucial as it sets the tone and context for the video you wish to create.
Next, you can enhance your prompt by adding a style. If you’ve created a custom style in Runway, select it from the model tab.
Then, choose an aspect ratio that fits the intended display or platform for your video.
Before committing to video generation, click on the “Free Previews” button. This allows you to see what the first frame of your video will look like.
If something isn’t quite right, you have the flexibility to tweak the parameters. Adjust settings and preview again until you find the perfect starting frame.
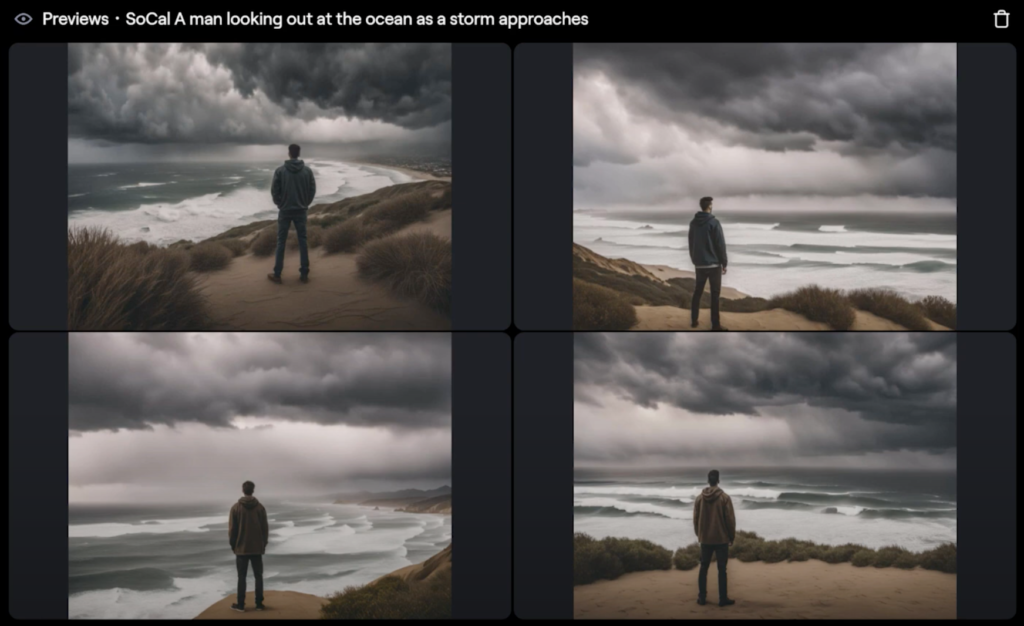
If you like one of the images, click on “Use as Image Input” to continue the video creation process.
Adding Motion and Dynamics
Once the initial frame is set, it’s time to bring it to life. Start with the general motion setting, where values range from 1 (subtle motion) to 10 (extreme motion). For our example, let’s adjust it to a mid-range value of 5.
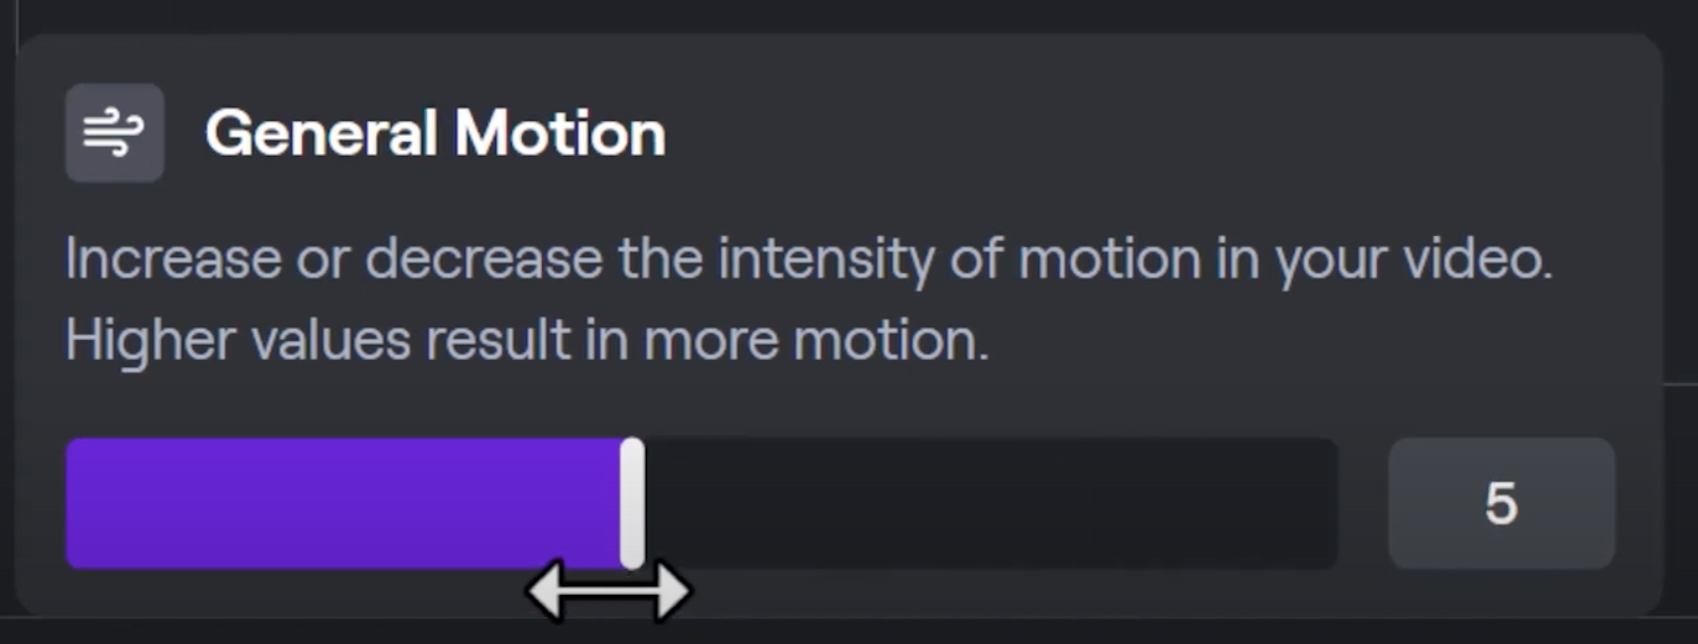
This setting will influence how much movement is applied to both the subject and the camera.
Fine-Tuning Camera and Subject Movements
For more precise control, delve into the camera motion settings. You can adjust the direction and speed of the camera’s movement to match the desired effect. Additionally, use the Motion Brush to select up to five different parts of the frame and assign specific motion values to each.
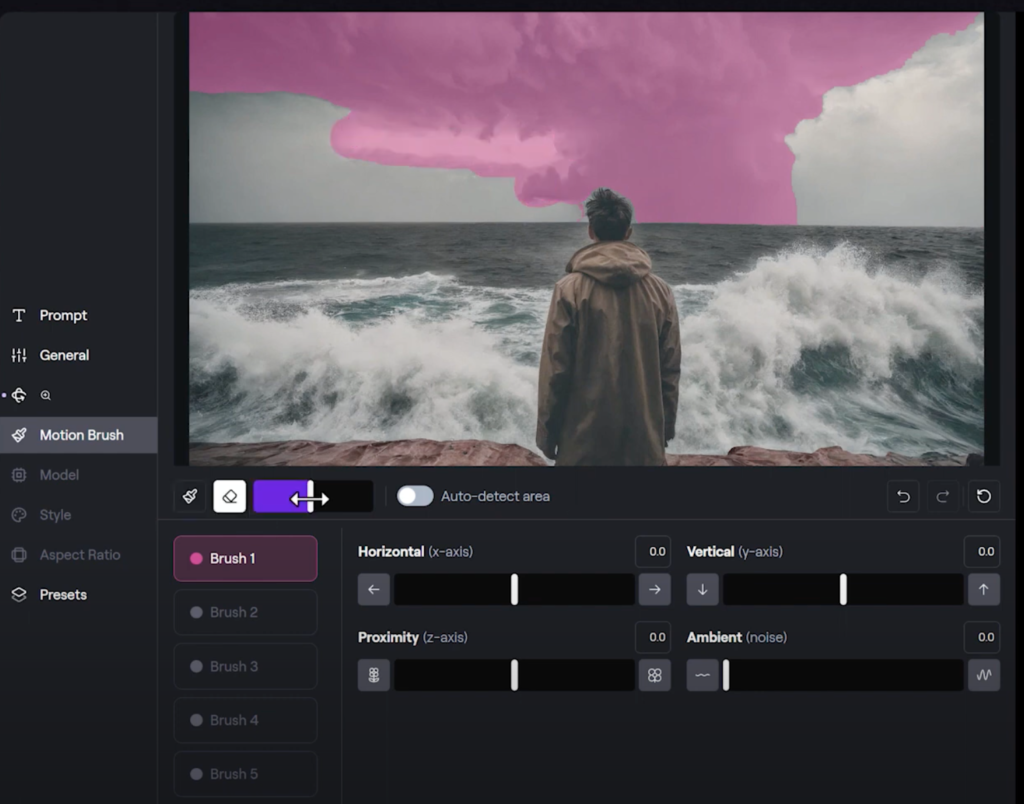
For instance, you might want the clouds to move towards the camera and the ocean to subtly ripple closer.
Finalizing and Extending Your Video
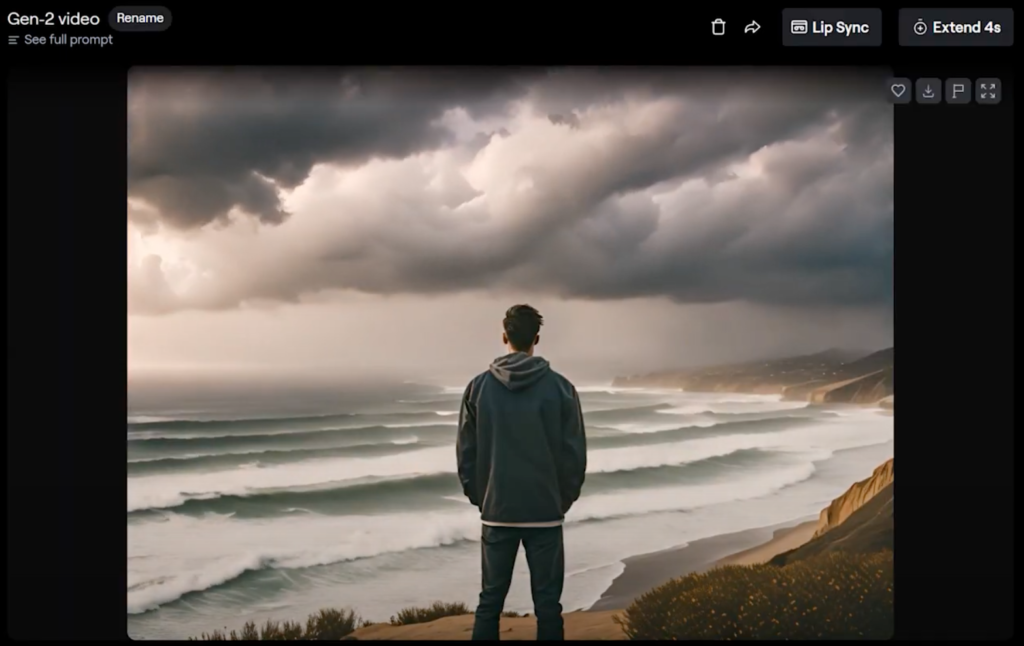
Once you’re satisfied with the dynamics and aesthetics, generate your video. You can then favorite it for easy access, download it locally, or even extend the video. Extending the video adds up to an additional 16 seconds, seamlessly continuing the motion from the first part.
As a bonus, explore saving custom presets and using the Prompt Enhancer for better prompt construction. If your video needs dialogue, consider using the Lip Sync feature to add realistic speech movements to your characters.
Join the Community
For more helpful resources and to further your learning, join our community on Discord. It’s a great place to find information, share your projects, and get answers to specific questions directly from your dashboard.
Thank you for joining us at Runway Academy for this overview of text and image to video creation. We look forward to seeing what you create!
Try at: https://runwayml.com/ai-tools/
Read related articles: