Learn how to use Text to Image for use with Gen-2 Image to Video in Runway.
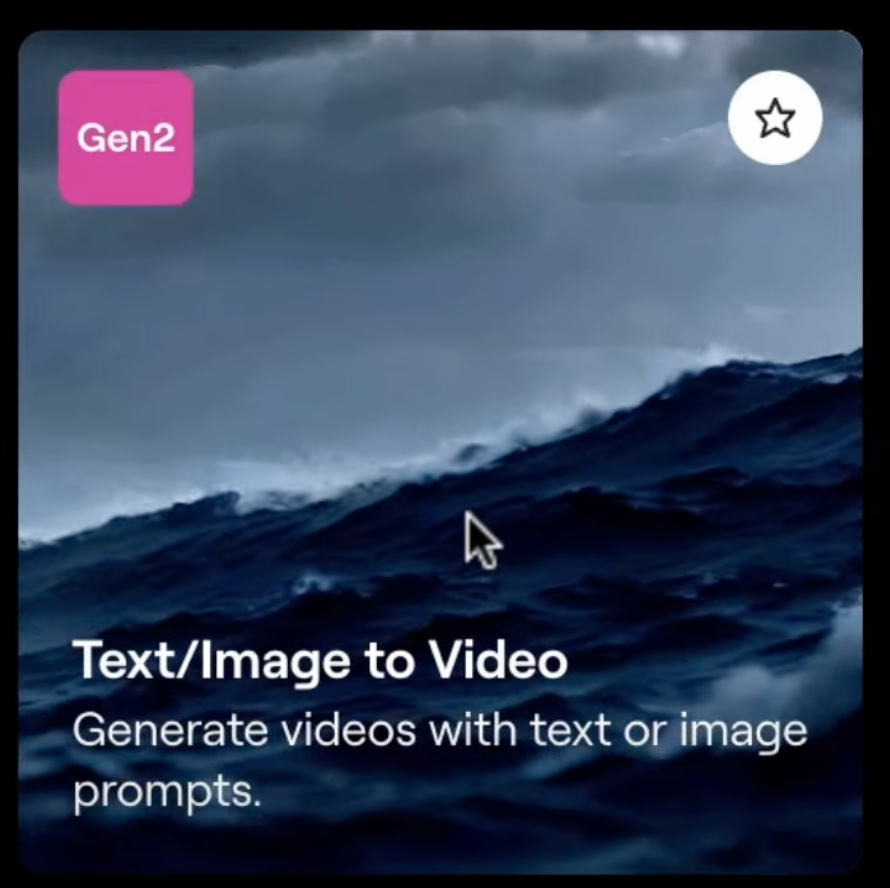
Step 1: Open Text to Image
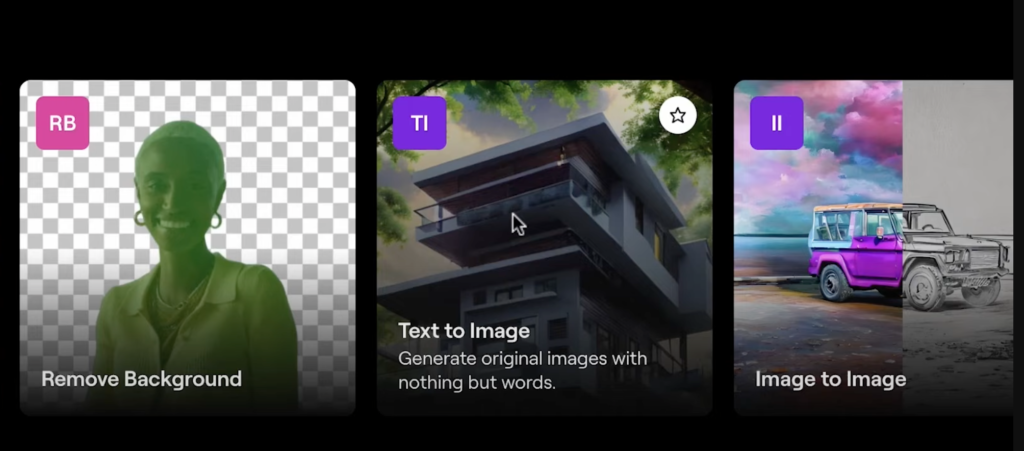
Start by opening the Text to Image model from your Runway dashboard.
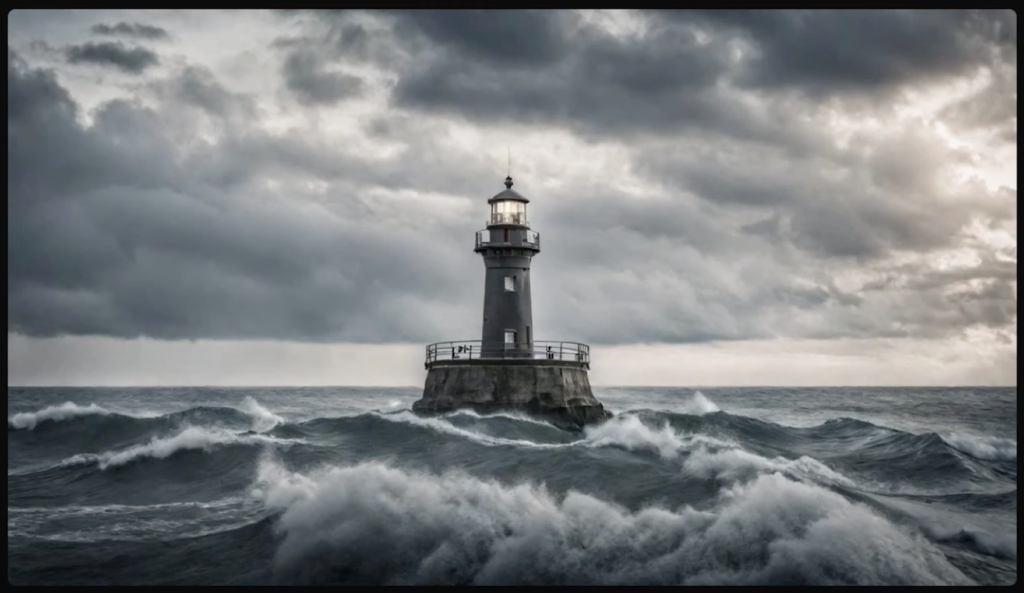
Step 2: Enter a Prompt
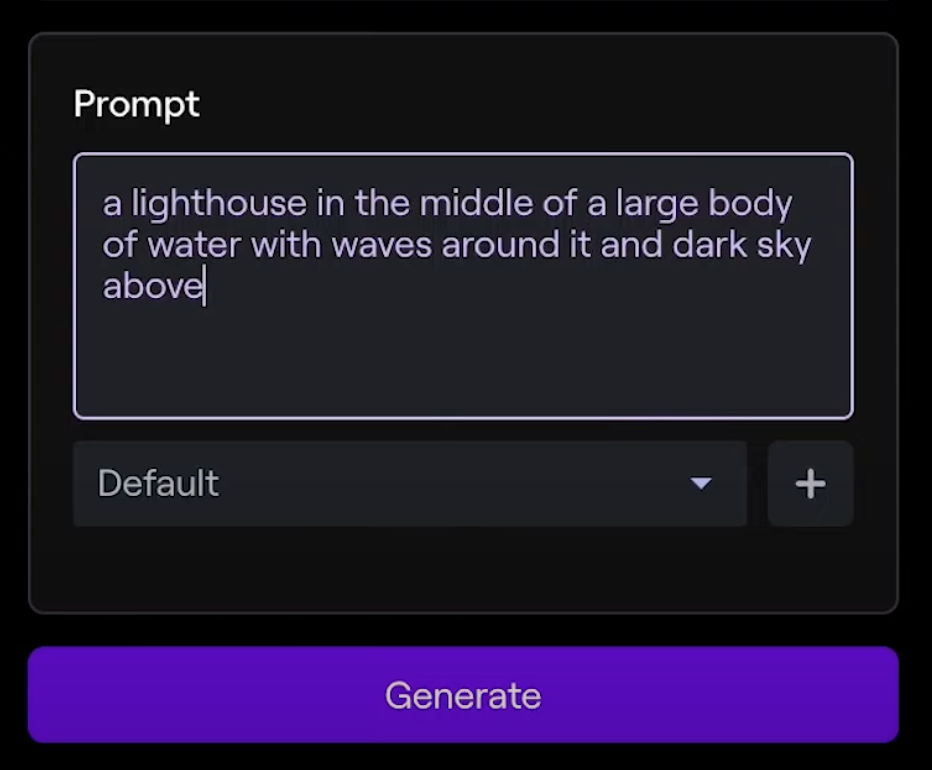
Initiate the process by entering a descriptive prompt that will guide the image generation.
Step 3: Explore Styles
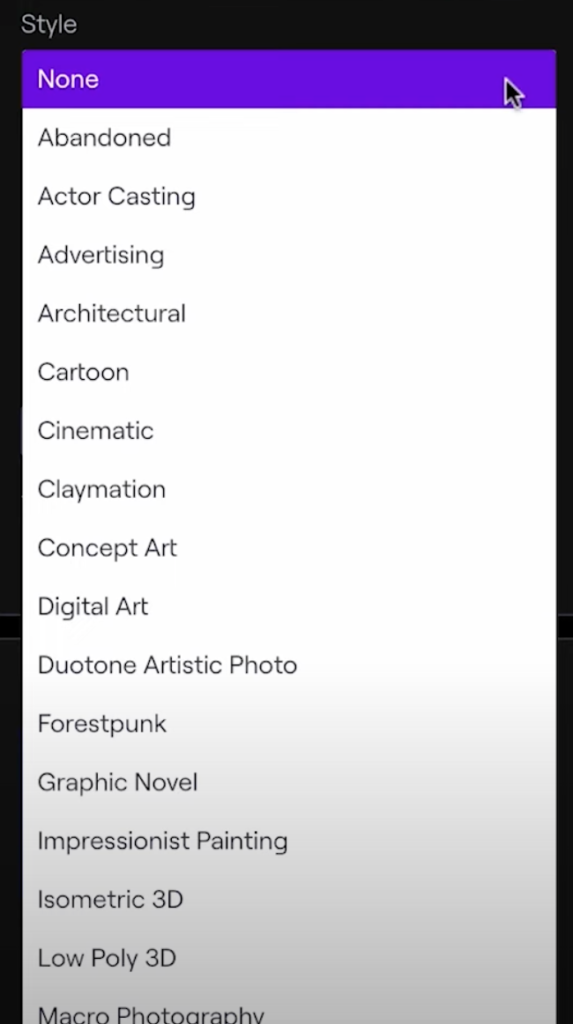
Explore the newly updated Styles available in the advanced menu. This allows for customization of the output.
Step 4: Select Mediums and Moods
Customize your output further by selecting from Runway’s curated list of mediums and moods. Pay special attention to the Cinematic style for photorealistic visuals.

Step 5: Generate and Select an Image
Once you land on a generation you like, you can proceed to the next step.
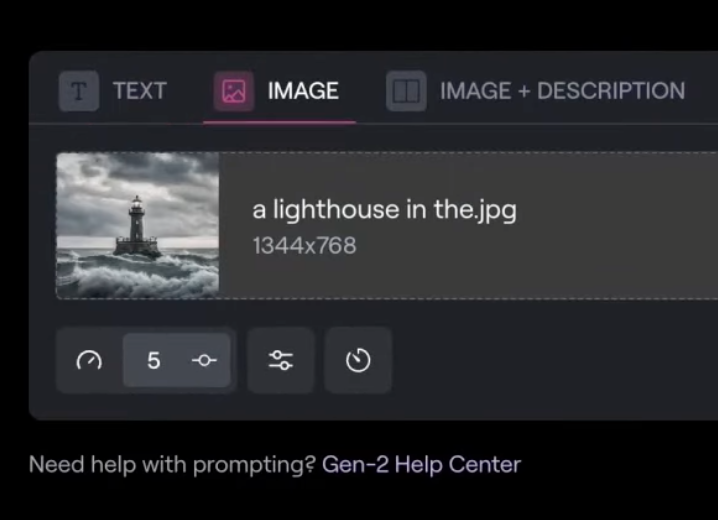
Step 6: Open Gen-2
Navigate to Gen-2: https://app.runwayml.com/ai-tools/gen-2
Then Input the generated image into the prompt bar.
Step 7: Advanced Camera Controls
Before generating the video, open the Advanced Camera controls. Here, you can set the intensity and direction of the motion for your video.
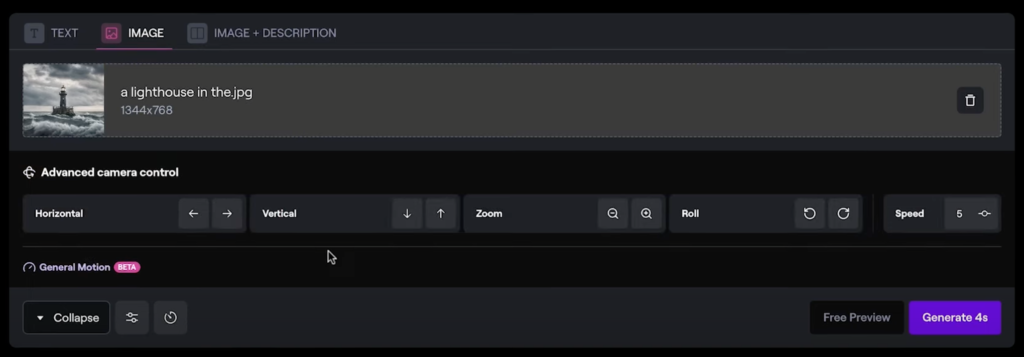
Step 8: Add Motion Details
For example, you might add a subtle push combined with a speed setting of two to create a slow, cinematic feel.
Step 9: Generate Video Options
You are now free to generate different video options. Experiment to find what works best for the result you want.
Step 10: Finalize and Download
Once satisfied with the generated video, you can finalize and download it for your use.
Additional Tips
- The video emphasizes the ease of achieving spectacular results with this workflow.
- If you have any questions, the video suggests reaching out for support via the button at the bottom of your Runway dashboard.
This guide should help you navigate the process of transforming an image into a video using Runway’s tools, with a focus on creating high-quality, cinematic visuals.
Read other guides: