In the world of digital art and animation, mastering the use of innovative tools can significantly enhance the quality and creativity of your work. One such tool is the Motion Brush. A feature in Runway that allows for dynamic and intricate motion effects in static images. This article will guide you through the techniques of using the Motion Brush, ensuring you can apply these methods effectively in your projects.
Understanding Motion Brush Basics
Before diving into the advanced techniques, it’s crucial to have a grasp of the basic controls of the Runway Motion Brush. As covered in a previous tutorial, these controls are the foundation for manipulating images in Runway.
Step-by-Step Guide to Using Motion Brush
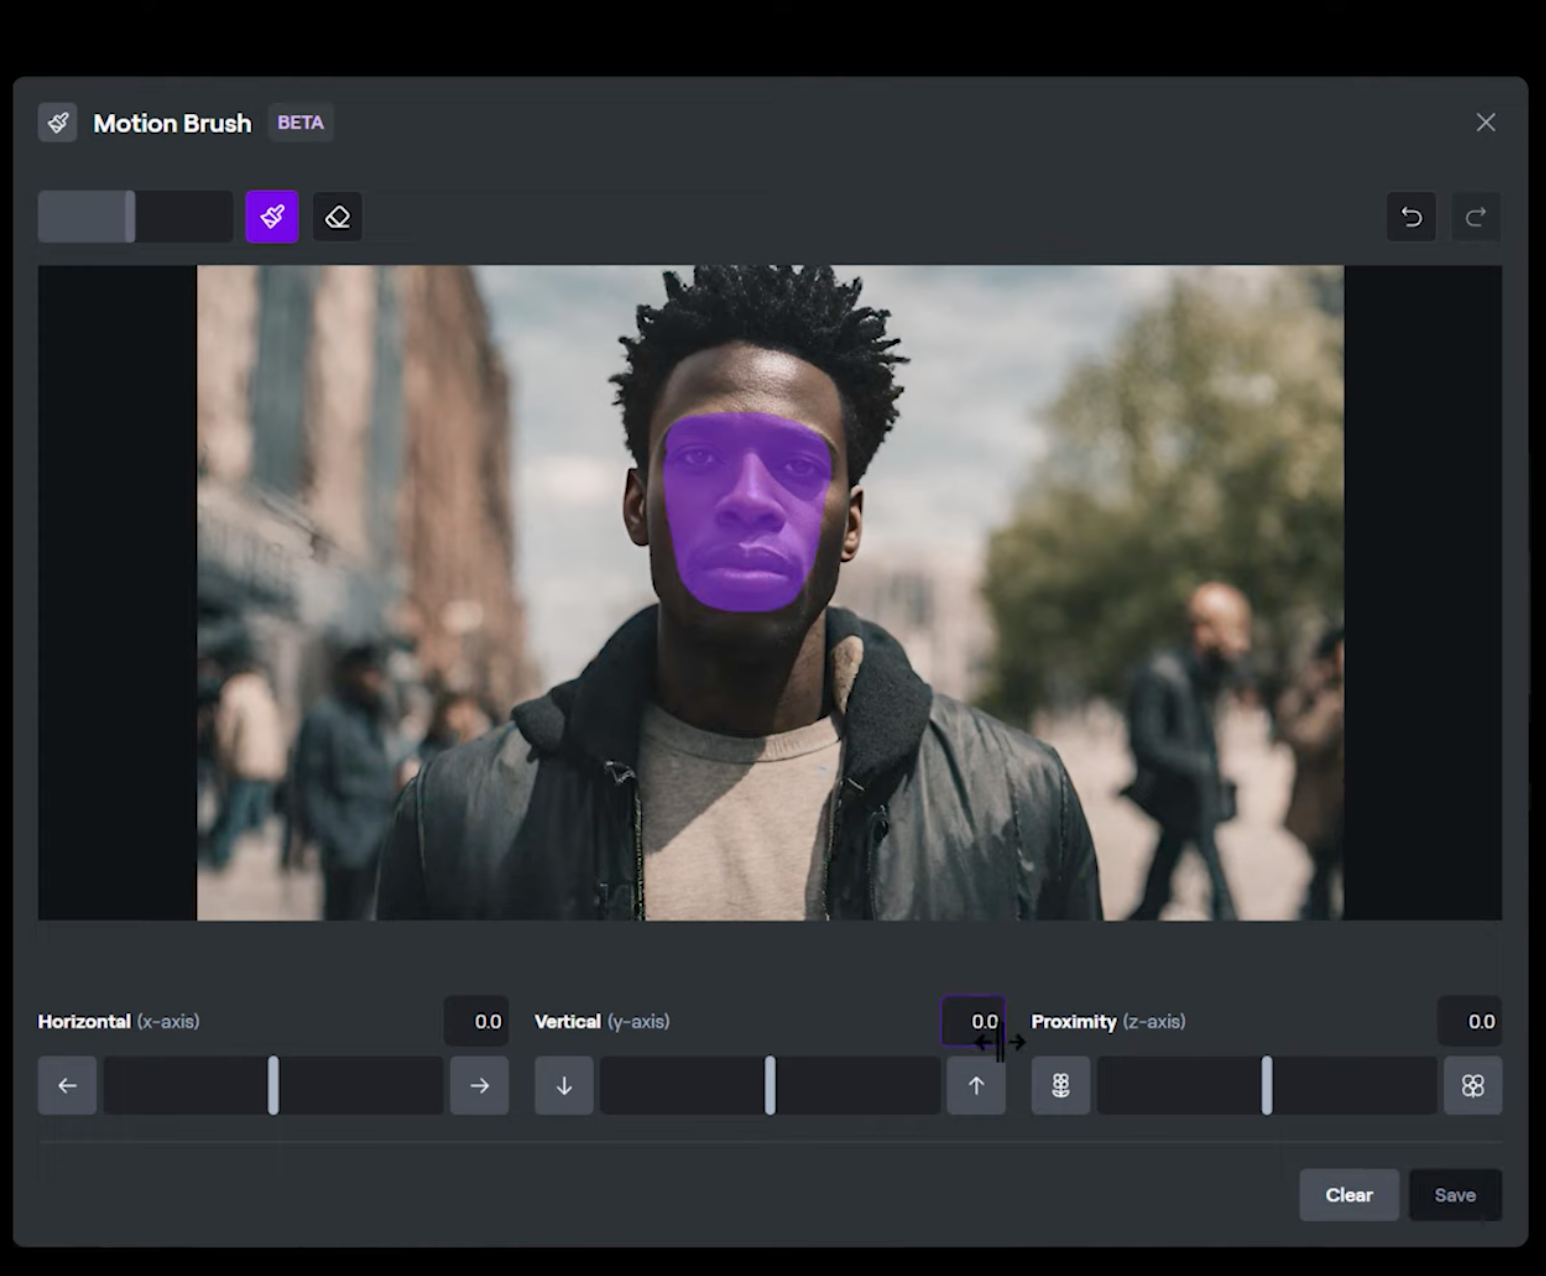
- Selecting the Area of Motion: The first step involves choosing the area you want to animate. For instance, if you wish to make a subject’s head move, you would typically brush a mask over the entire head. However, this can sometimes result in unwanted background motion if the brush accidentally covers background areas. A more refined approach is to use a smaller mask, focusing on the specific part you want to animate. Like the face.
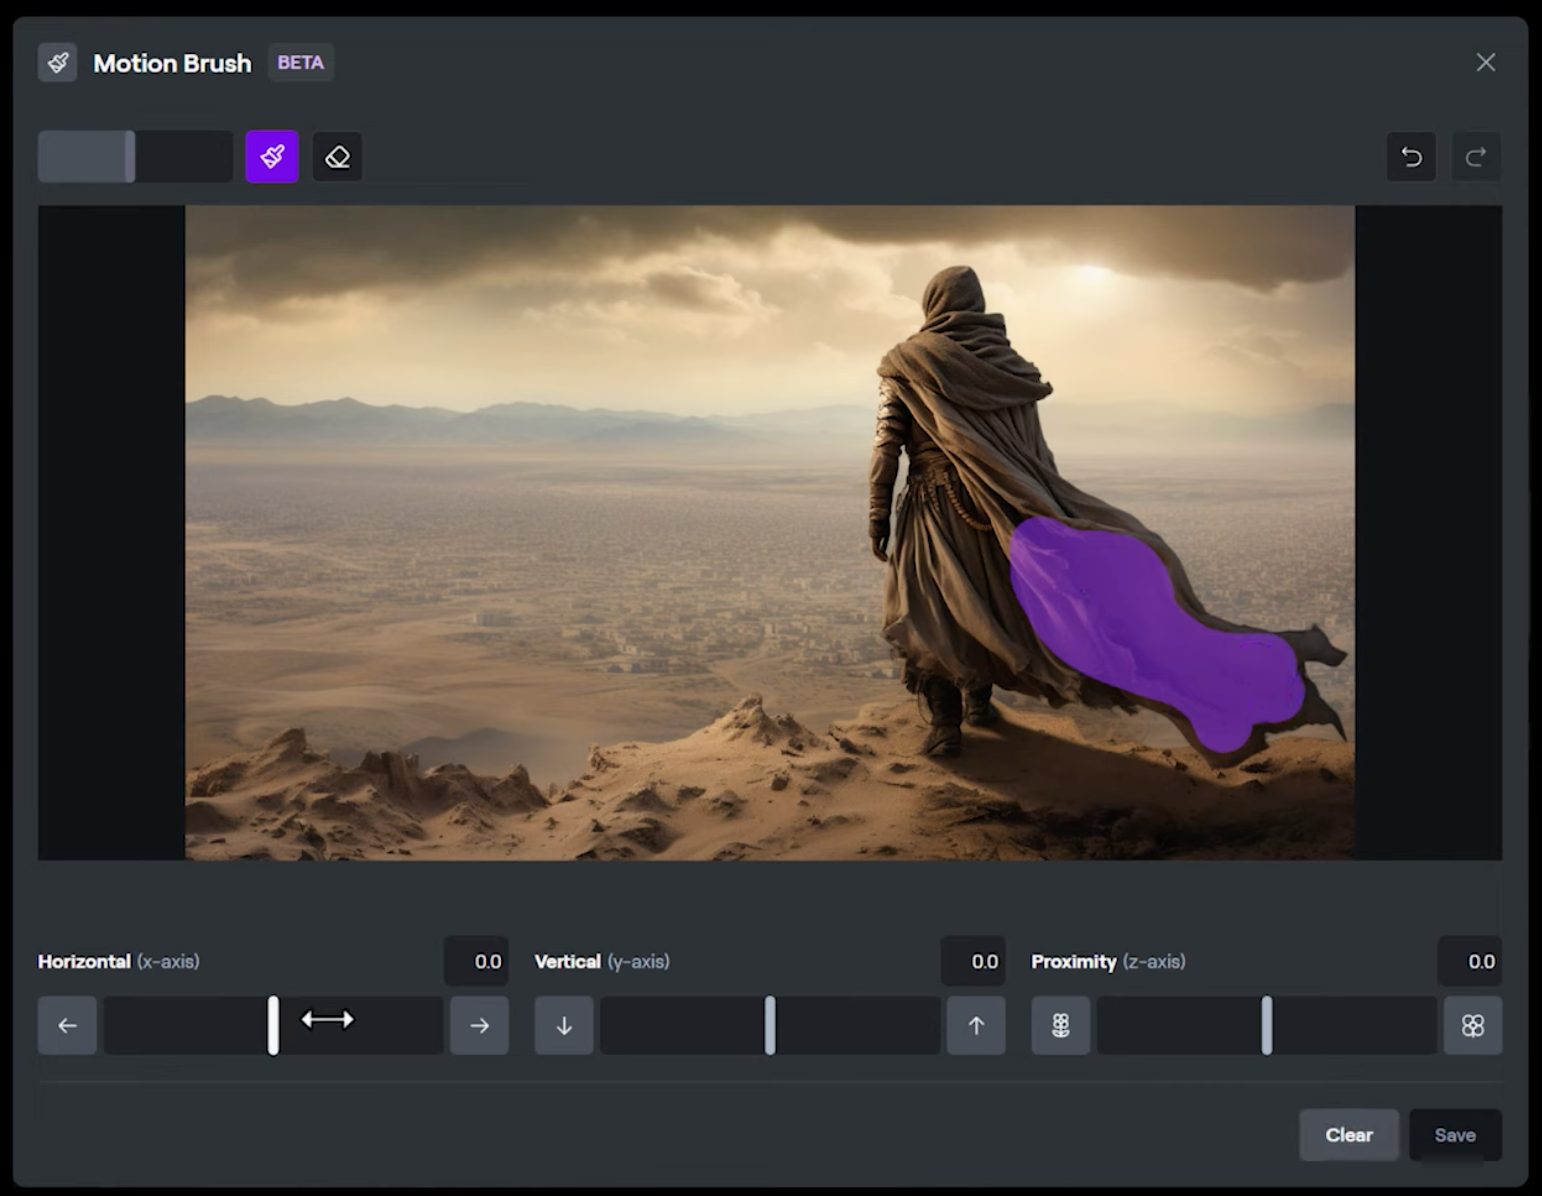
- Applying Motion to Specific Elements: In another scenario, if you want to animate a character’s clothes as if blowing in the wind, start by adding a small mask within the cloth element of the image.
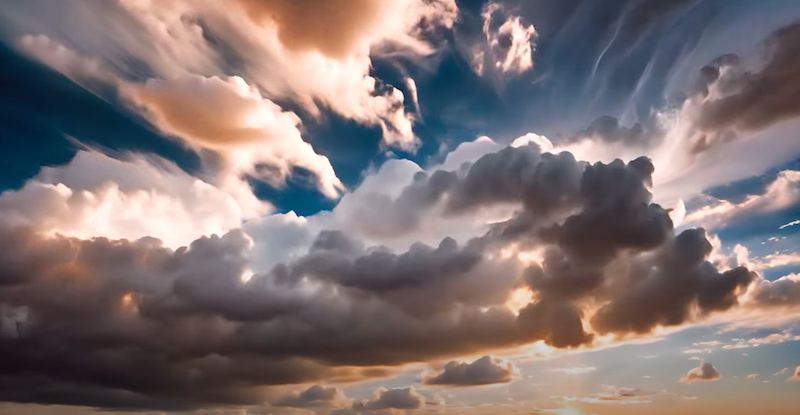
- Be careful not to brush onto the background or other parts of the character. Then, apply motion in the direction you want the fabric to flow. The Motion Brush will handle the rest. This technique is applicable to various elements like hair, eyelines, facial expressions, and even time-lapse elements like moving clouds.
- Combining Motion Brush with Image Plus Description Mode: For more detailed control, use the Motion Brush in combination with the Image Plus Description mode. This mode allows you to add a text prompt along with your mask selection. For example, with a character’s face painted, you can prompt for a smile or a frown by providing extra context with the text prompt. This method is also effective for stretching or morphing objects and controlling scene elements.
Remember to keep your prompts simple and straightforward to avoid in your digital art. Experimentation and practice are key to mastering this tool. As you become more familiar with the Runway Motion Brush, you’ll discover your unique style and how best to integrate these techniques into your work.
Remember, the beauty of digital art lies in its flexibility and the endless possibilities it offers. With tools like the Motion Brush, you’re not just creating art. You’re bringing it to life, adding a dynamic element that can transform a static image into a captivating visual story.
Watch the full video tutorial:
Conclusion
In conclusion, the Motion Brush in Runway is a powerful tool for any digital artist looking to add motion and life to their creations. By understanding the basics, applying specific techniques, and utilizing the combination of motion and text prompts, you can create stunning, dynamic artworks. Don’t forget to leverage the resources available in the Runway community. Keep experimenting to discover the full potential of this innovative tool. Happy creating!
Read other related articles: