Runway AI allows you to turn text to video, image to video, and video to video that have resulted in some of the most amazing AI-generated videos I’ve ever seen. So, if you want your videos to stand out online or to use it in a movie, I will go through what I’ve learned about Runway to generate the best AI videos, how to use the motion controls, expand image, and the other crazy effects. And I’ll deep dive into my new favorite feature, the motion brush. So let’s dive into each feature one by one so by the end of this video, you’ll be able to use Runway like a champ.
Creating Runway Account
Number one: make an account. We’re now on RunwayML.com, and here you can see “Advanced creativity with artificial intelligence”.
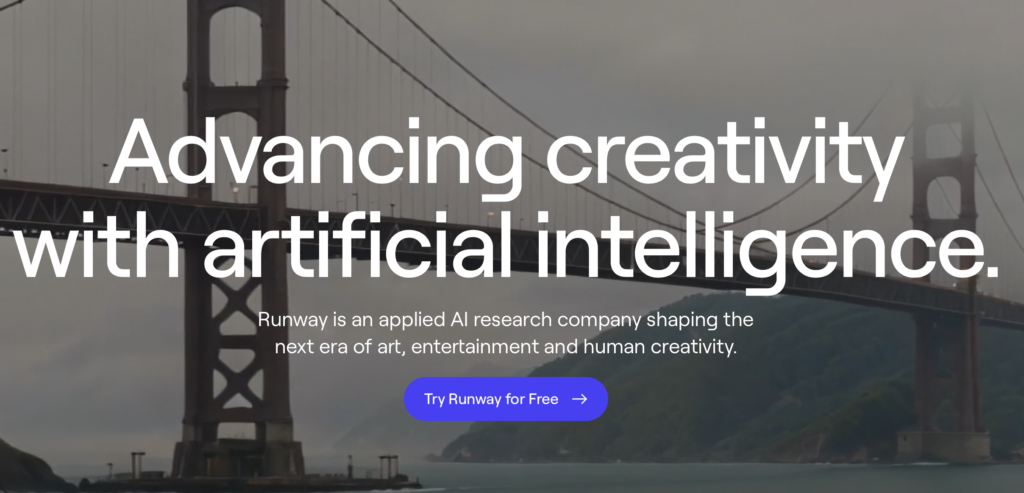
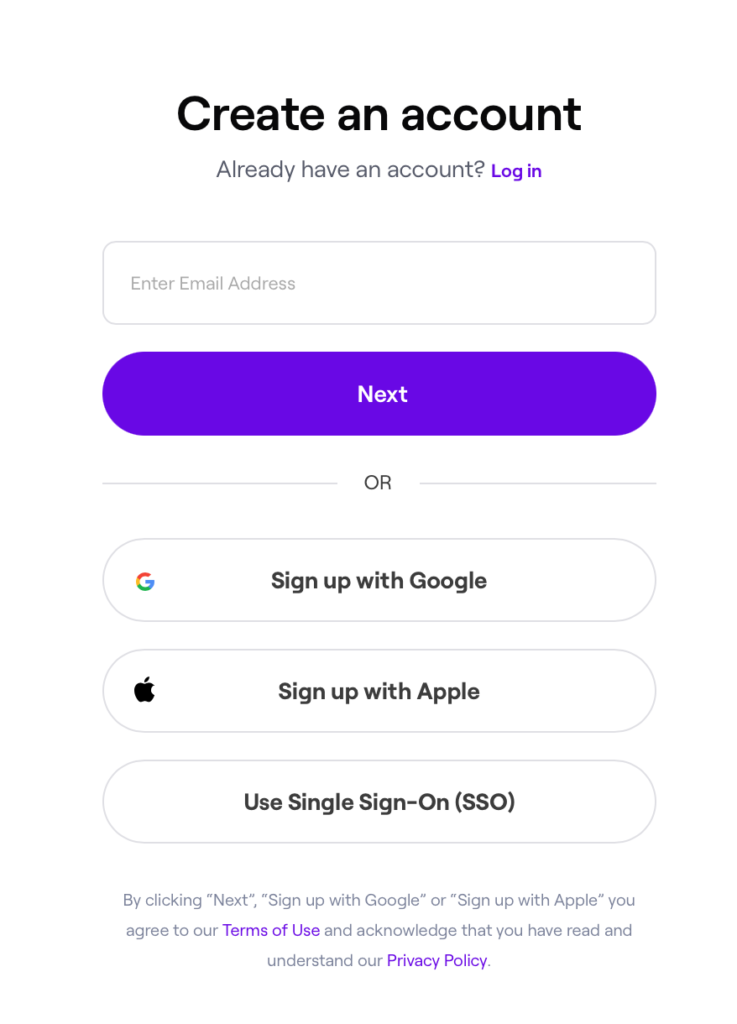
Runway is an applied AI research company shaping the next era of art, entertainment, and human creativity. The way you make a free account is just to click this button. Now, just create an account; you can use Google and Apple.
And now we’re on the inside. If you’re wondering how much can you generate for free, I’ll go over that when we talk about pricing later. Because you’ve signed up, let’s go to number two: text to video.
Navigating Runway AI Dashboard
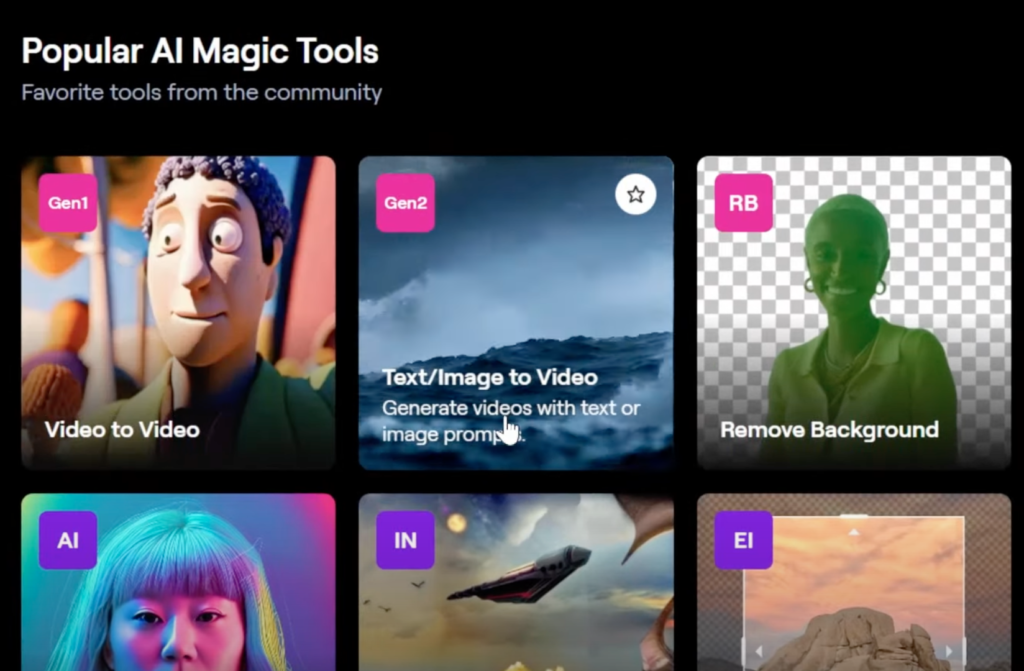
As you can see on their homepage, they have so many popular AI magic tools, and I’m going to try to cover every single one in this video.
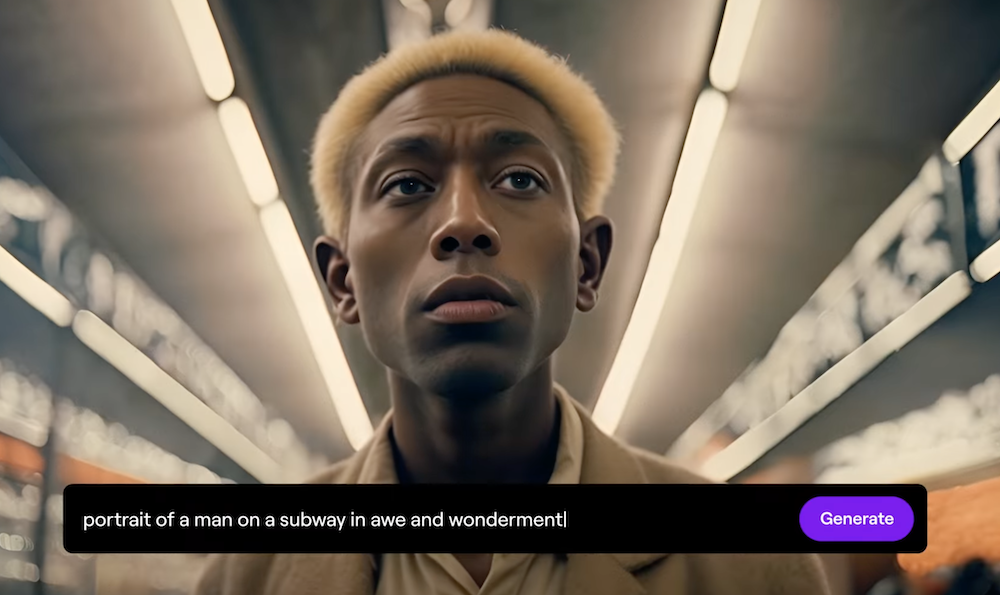
But to begin, let’s click on text to image to video. I’m going to make a prompt here with a “kangaroo wearing oversized sunglasses, riding a skateboard down the mountain“.
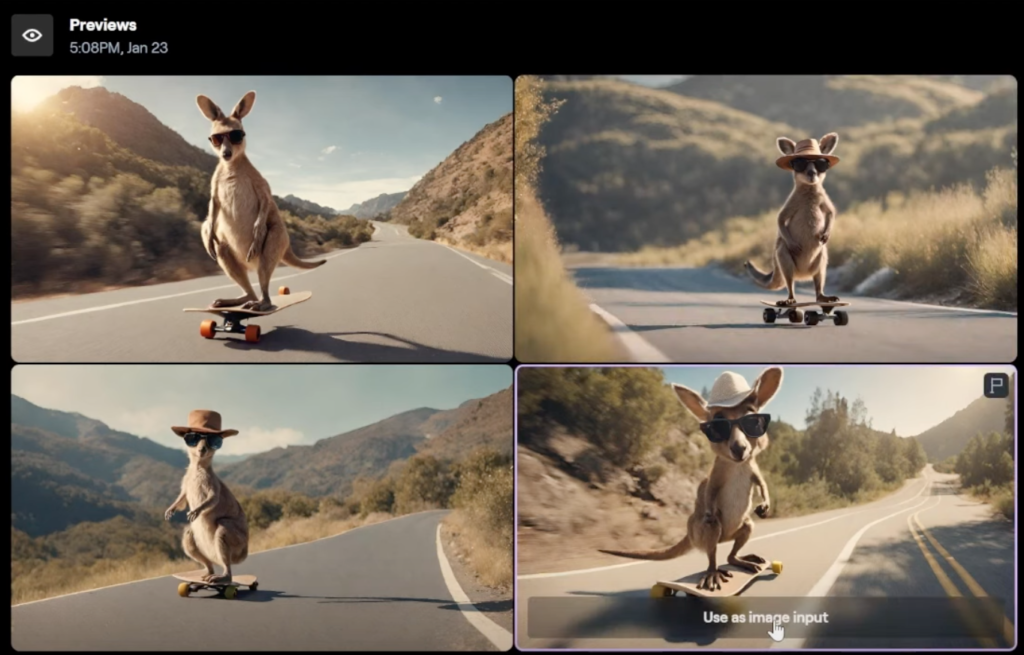
There are some settings here as well that I’ll show you, but for now, let’s click on free preview. The reason you want to do this is because you get four generations that you then can select between and then render out, which saves you credits.
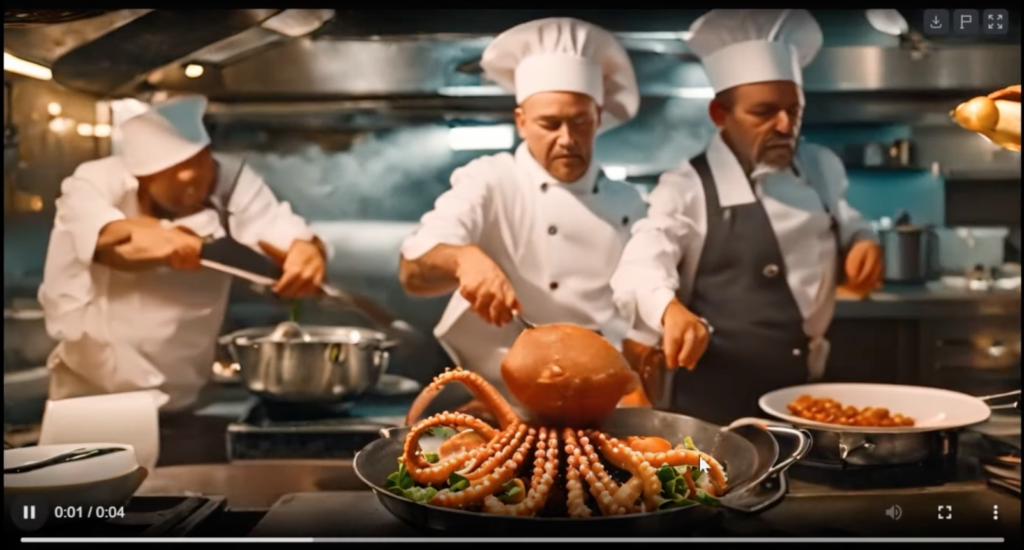
And there you go, I really like this one as the input, so I’m going to click on use this as the input and let’s generate. Also, I want to test if I just don’t do an input, just the text. I’m going to generate that as well. I’m going to try two other prompts as well, like this: Penguins having a picnic on the moon, and the octopus juggling kitchen utensils.
We got the first generation back here. Whoa, slow motion on this one, and the kangaroo is kind of warping a little bit, but pretty good so far. Just remember, that this was with an image. Here is the first one with purely text generation. Yeah, I don’t know. Here is the Penguins on the moon having a picnic.
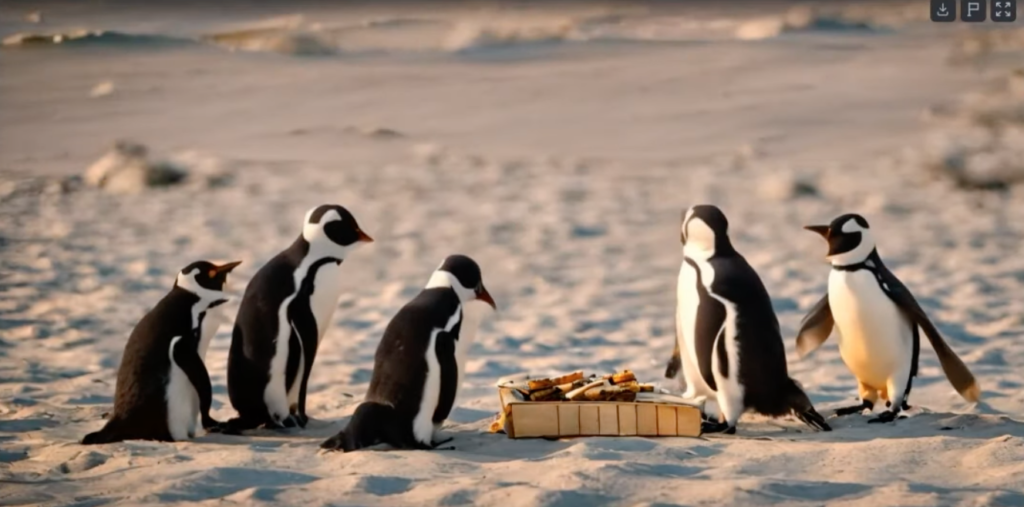
I mean, this was pretty good, like they just stole a pizza box. And here is the octopus generation, apparently the chefs are making the octopus, and it didn’t really do the prompt right, but hey, that’s on me.
And the main issue is that it’s not so customizable with only text; you don’t really have so much customization.
Image to Video
So let’s go to number three: image-to-video. As you can see, we’re now on the image tab, and we can drag and drop an image in here.

I’m going to upload this photo of this weird man with an iPad. And now let’s talk about some of these filters. As you can see, the first button gives you the seed, which you can customize to keep the same style if you want to do it again.
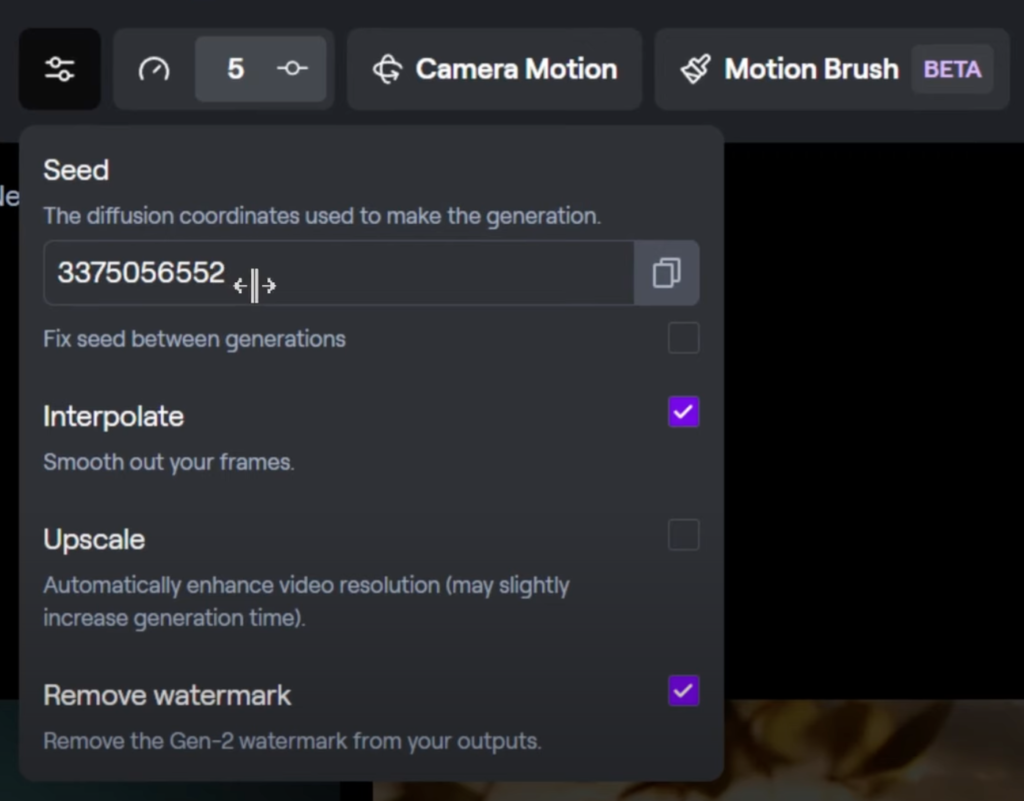
Interpolate smooths out your frames, upscale you can turn on automatically, you can also upscale after the fact, and remove watermark.
Read related articles: